Today, there are hundreds of thousands of videos online, from tutorials, video lessons, recorded presentations, and more. It is very useful for a viewer to have an opportunity to watch a certain video whenever they might need it. Having the possibility to pause and rewind videos unlimited times over again is really useful. It is not only awesome for the viewer but also for the creator of the video since the person does not have to repeat themselves numerous times.
With that being said, you can see why screencasting is so popular and used in so many ways. If you are considering screencasting, for any particular reason, there are a few steps one should follow.
The first step is finding the right software for your needs. That means you should know the reason for your casting and begin the search for software that will best compliment your topic. We suggest finding a 2 in 1 tool: a recorder but also a video editor. This is not only easier but also saves you a lot of time. The second step is cleaning up. By that, we mean cleaning your desktop, making sure all notifications are turned off, no distracting wallpapers, personal information shown, and similar things.
You do not want any of these things showing if you are planning on creating a permanent video available for other people to see. Another thing is making sure you know what you are going to say. This prevents awkward silence and having to redo the whole thing. After these steps, it is time to start recording. You need to decide if you are doing full-screen or only a part of it. Another decision is if you’ll be including audio into your cast.
After recording, for those of you who want to edit certain parts out, or even add some, and edit the video altogether, now is the time. The last and most important part is saving the video, and of course, publishing it.
Some additional things that can improve your screencasting are, for example, adding a video from your webcam can seem more professional and also adds additional instructions to your videos. Also, the possibility of adding your own media, screenshots, or an image, and anything else that helps the viewers also steps up your screencasting game. With that being said, we would like to present you with a few alternatives for Loom. But firstly, what even is Loom, and why do we need alternatives? Loom is a screen recording tool. It is mainly popular for its free alternative and other cheap plans.
But being free or cheap is not always a big plus. Loom is good for those of you who are not planning on making long videos and crating really simple videos that do not require a lot of additional features.
The biggest negative side of Loom is the maximum video duration of 5 minutes. Not a lot of things can be said in five minutes. Another negative aspect of Loom is some of its missing features like there is no screenshot capture, search in desktop apps, annotate local images, record audio, record GIFs, upload files, drag and drop upload, schedule sharing, and many more.
For these reasons, we would like to show you some of its alternatives. These tools right here are the best, in our opinion, but if you think Loom works just fine for you, that’s alright.
1. BerryCast
Table of Contents
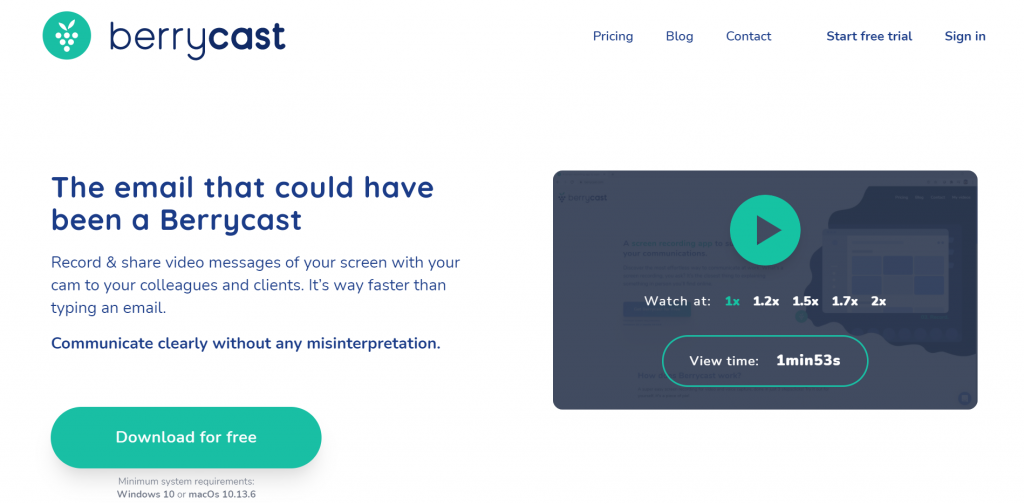
The first on our list has to be BerryCast, and we will tell you why. This tool simplifies the whole concept of screencasting. In just a few clicks, you can screen record your screen, camera, and audio, all at the same time. This tool allows you to create videos that are almost equal to real-life instructions. It’s one of the simplest tools you could do this with. Hundreds of thousands of reviews agree with us.
When it comes to its pricing, it costs only $129. Yes, you don’t have to get a subscription. It is a one-time thing. You can add up to 5 editable users, have unlimited video storage, 24-hour email support delay, full-screen recording, selected area recording, webcam with the fullscreen option, internal audio recording, and the ability to share the recording via email.
As if that wasn’t enough, there’s no FPS limitation. It comes with conversation threads, password protection, no watermark, and a Chrome extension. They also offer a 60-day money-back guarantee, in case there’s something wrong, the tool does not meet your expectations, or whatever reason you might have.
2. OBS Studio
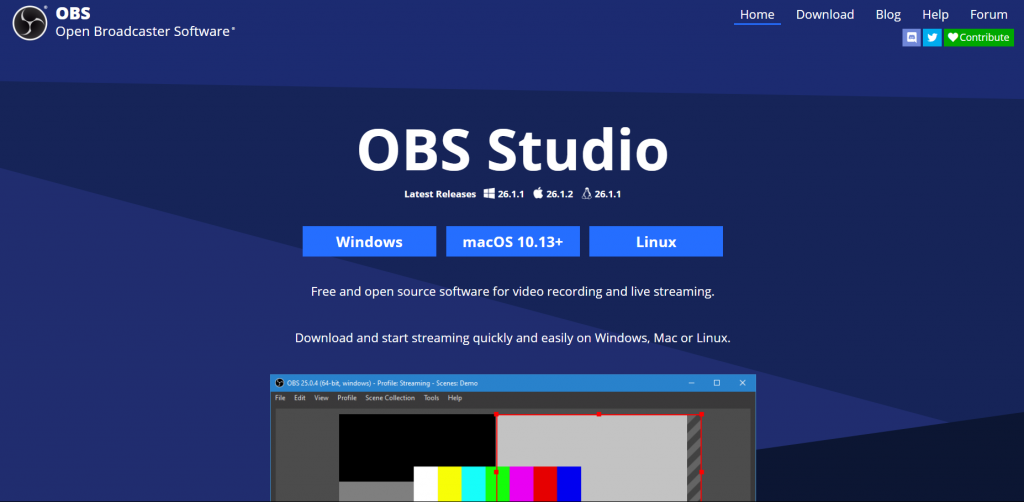
The second entry on our list is also pretty great. The best thing about OBS is that it’s free. Some of its features include recording and streaming in high definition, the possibility of recording only a part of your screen, and editing after recording.
Its stand-out feature is the ability to live-stream. The streaming can be done on YouTube and also Twitch. Its main purpose is gaming, not informational videos. But you can use it any way you like. It is supported on Linux, Mac, and Windows.
3. Apowersoft Unlimited
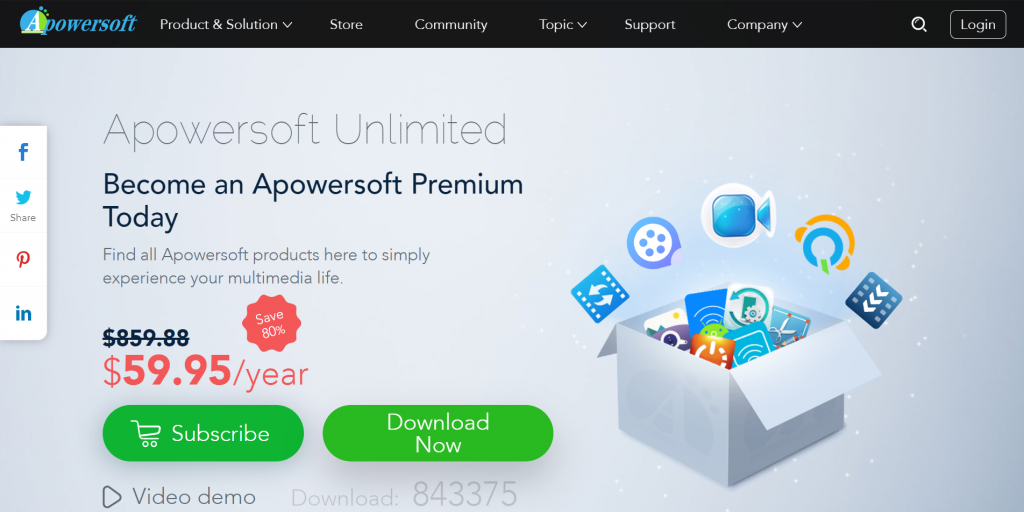
This right here is a suite of software applications and includes screen recording options for Android, Mac, Windows, and iOS. Apowersoft Unlimited allows you to cast your mobile phone to your computer and use it as a desktop recorder to capture the computer’s audio, webcam, microphone, but also phone. Just like the others, this tool also offers full screen but also only parts of the screen.
It is supported on Mac, Windows, Android, and iOS. The price of this tool is $60/year, and the price depends on the type of tool you decide on. Since it has the possibility of connecting your phone, it is mostly used for showing the use of applications that are available for both computers and phones.
4. Screencast-O-Matic
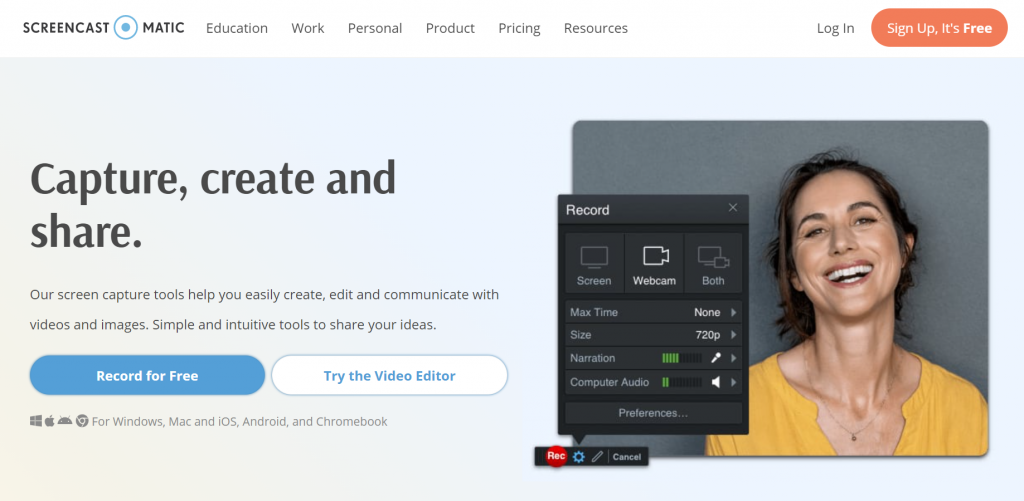
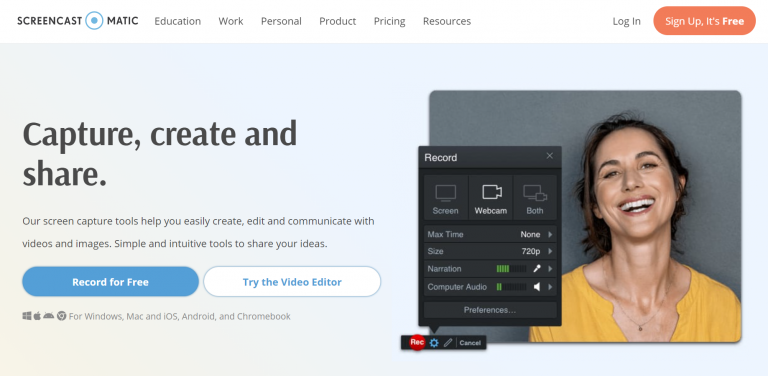
This tool can be used for many things: ranging from education, work, and personal uses. Screencast-O-Matic is an online screen recorder and editor. The tool can be accessed by both teachers and students for video communication. When it comes to work purpose, it can be used for marketing, demos, training, and more. It also has an option for team videos.
Even though it does not make the best quality videos, they go up to 800p definition. You can use all sorts of pointers, draw, overlay, and much more. It also lets you upload to YouTube. It is perfect for those of you who plan on creating shorter videos to share with your friends or a smaller audience online. When it comes to editing, you can add images, audio, text, and whatever you like. A green screen can also be used in this tool. It is compatible with Windows, iOS, and Mac.
It is safe to say that this tool does not cost much when the most expensive plan costs $4/month. The cheaper plan costs $1.65/month.
5. Bandicam
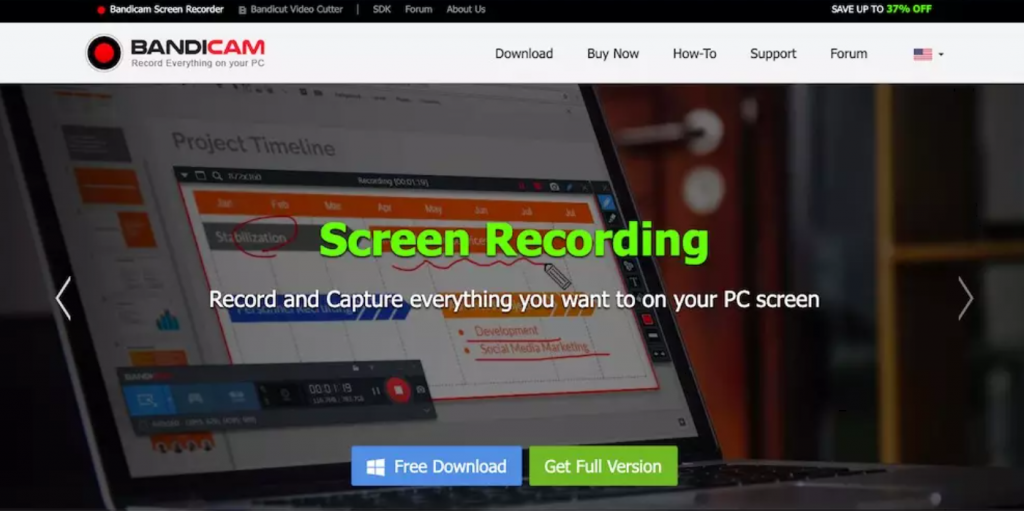
This tool is well-known by people interested in screencasting. Bandicam is mostly used for gaming videos since it has the ability to record 2D and 3D games in high resolution. The recording itself is great, but the biggest complaints refer to the part after recording- editing. Even though you can draw, add text, and take screenshots while recording, there is no built-in video editor.
You can use it to record partial parts of your screen or full screen. You can also record videos using external devices like smartphones, webcam, and more. It also allows you to create a schedule, making sure you do not miss any important recordings. The price itself depends on the number of computers you want to be able to use the tool on. So, for example one PC- $40, 2 PCs- $60, 5 PCs-$139 and so on.
6. Icecream Screen Recorder
![]()
Even though it offers the most basic editing tools, this tool deserves a spot on our list. Icecream Screen Recorder does allow you to screen record, annotate, record webinars, and much more, but when it comes to editing, it mostly comes down to cutting the beginning and end out of videos. It has a lot of additional features like scheduling, drawing, adding a logo, and more.
When it comes to pricing, they offer a free and paid version. The free version limits you to create videos that are no longer than 5 minutes, and that is its biggest con.
7. Movavi
Movavi allows you to have the possibility to create amazing-looking videos with audio explanations and webcam videos too. You can add things to your videos, like stickers, images, and more. You can also record audio through your microphone or from your computer and have it be nonrelated to the screen recording itself. There’s an option to draw over your videos, which makes it easier to point at something important that is shown on the video itself.
8. ApowerREC
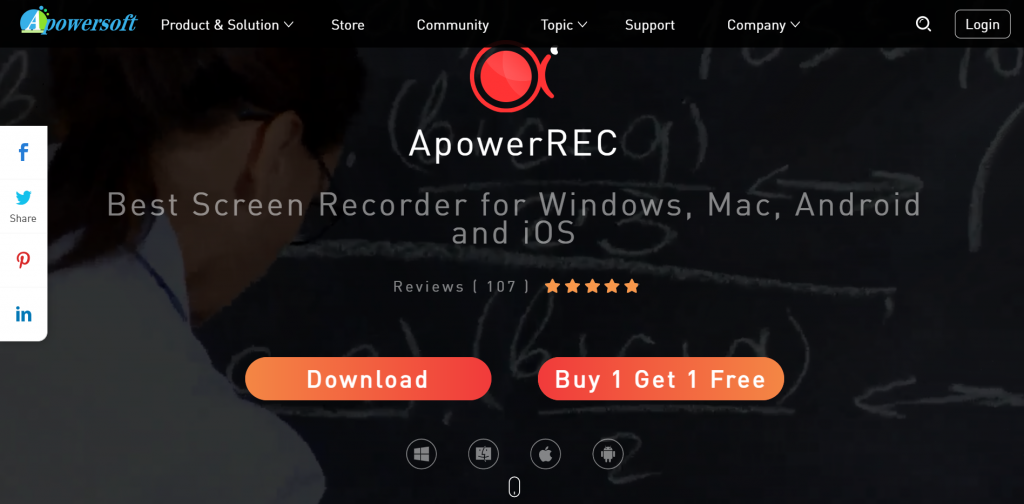
ApowerREC allows you to do everything like the tools above. You can record your screen, fully or partially. You can also add videos from your webcam. When it comes to audio, there’s an option to record audio from your microphone or the system sound, whatever works better for you. Lastly, you can add any kind of annotations to your screen recording but also edit the video itself, making sure nothing unwanted is left inside of the screencast.
For personal uses, they offer 3 ways of payment: Lifetime- $70, Annual- $40, and Monthly-$20.
9. TinyTake
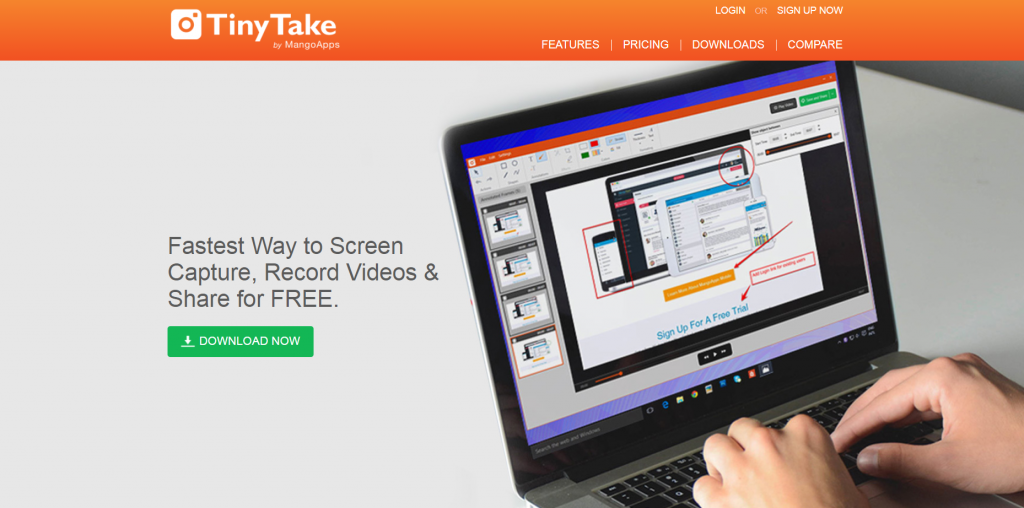
TinyTake is a free tool with good features. You can record your screen or make screenshots, annotate them whichever way you want, and share them on any social media out there. Even though they advertise themselves as the best tool out there, but with all sorts of limitations in the free version.
There are four different pricing plans, including the free plan. The second plan is the “Standard,” which costs $30/year, the third plan is the “Plus,” which costs $60/year, and the last plan is $100/year. It is a fair tool for those of you who plan on creating short, fun videos for social media.

