In today’s article, we would like to explain the whole process of exporting orders from WooCommerce. WooCommerce has become a big thing over the past few years due to its simplicity and robust features. But, it does not come with any built-in export options. Thanks to JEM Plugins’ “Order Export for Woocommerce” and plugins similar to it, this whole process of exporting is much simplified.
WooCommerce Order Export – PRO
Table of Contents
WooCommerce uses the Woocommerce Order Export plugin for exporting orders. The plugin is straightforward to use, even if you have never used plugins of this sort. This plugin offers some fantastic features that allow you to export WooCommerce without much effort and wasting your time. Order Export for WooCommerce plugin can export your WooCommerce to Excel or CSV formats.
In the video below, you can watch the whole process of exporting WooCommerce, but we will go over it once more with you.
So if you are ready, let’s get into a bit of an in-depth tutorial on “Order export for WooCommerce.”
How to Export WooCommerce using Order Export for WooCommerce Plugin
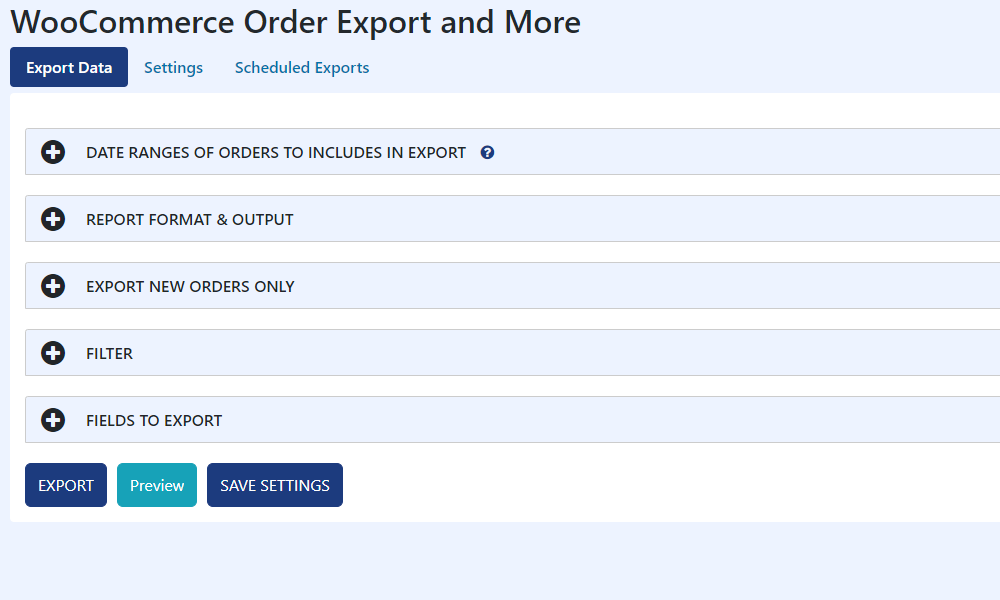
Once you download and run the plugin in your WooCommerce store, you should be welcomed by an Export menu with five options: Date ranges, Report format and output, Export new orders only, Filter, and Fields to export. Let us shortly describe what they do individually.
Date ranges
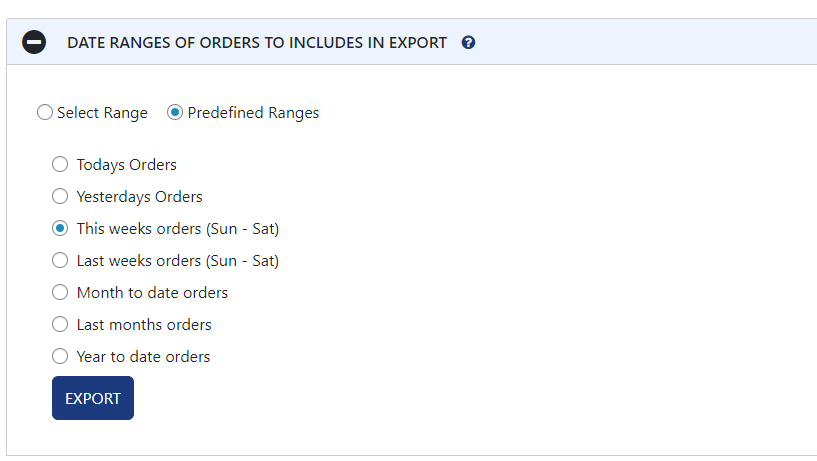
This one is pretty simple and self-explanatory. It allows you to pick dates, choose a date range with a starting date and ending date, or choose a predefined range. The predefined ranges go from today’s orders to a year to date orders, so basically, every range is covered and has been simplified for you to use.
Report format and output

This feature allows you to edit how your data is being formatted in the export. You can change almost everything, from date format, filename, field delimiter to character encoding.
Export new orders

If you want to export WooCommerce, you do not want to export the same orders multiple times. That ensures just that by remembering the orders, you have previously exported.
Filter
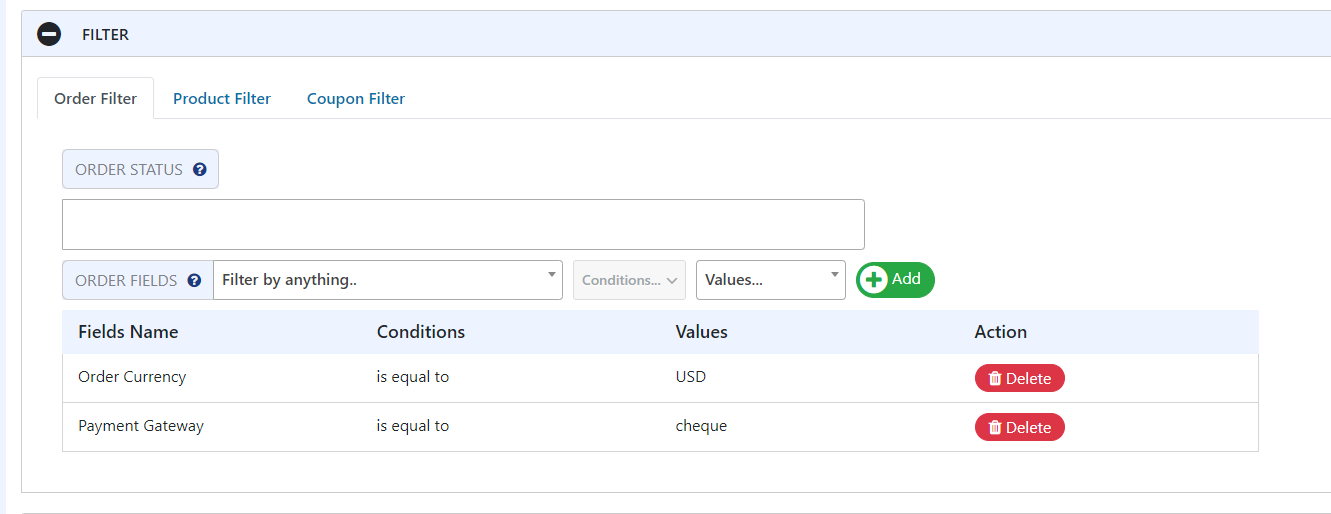
The filters feature allows you to go through your orders and filter them by specific criteria that you choose. You are not limited to only going through the orders, but you can also filter out your products and your coupons.
Fields to export
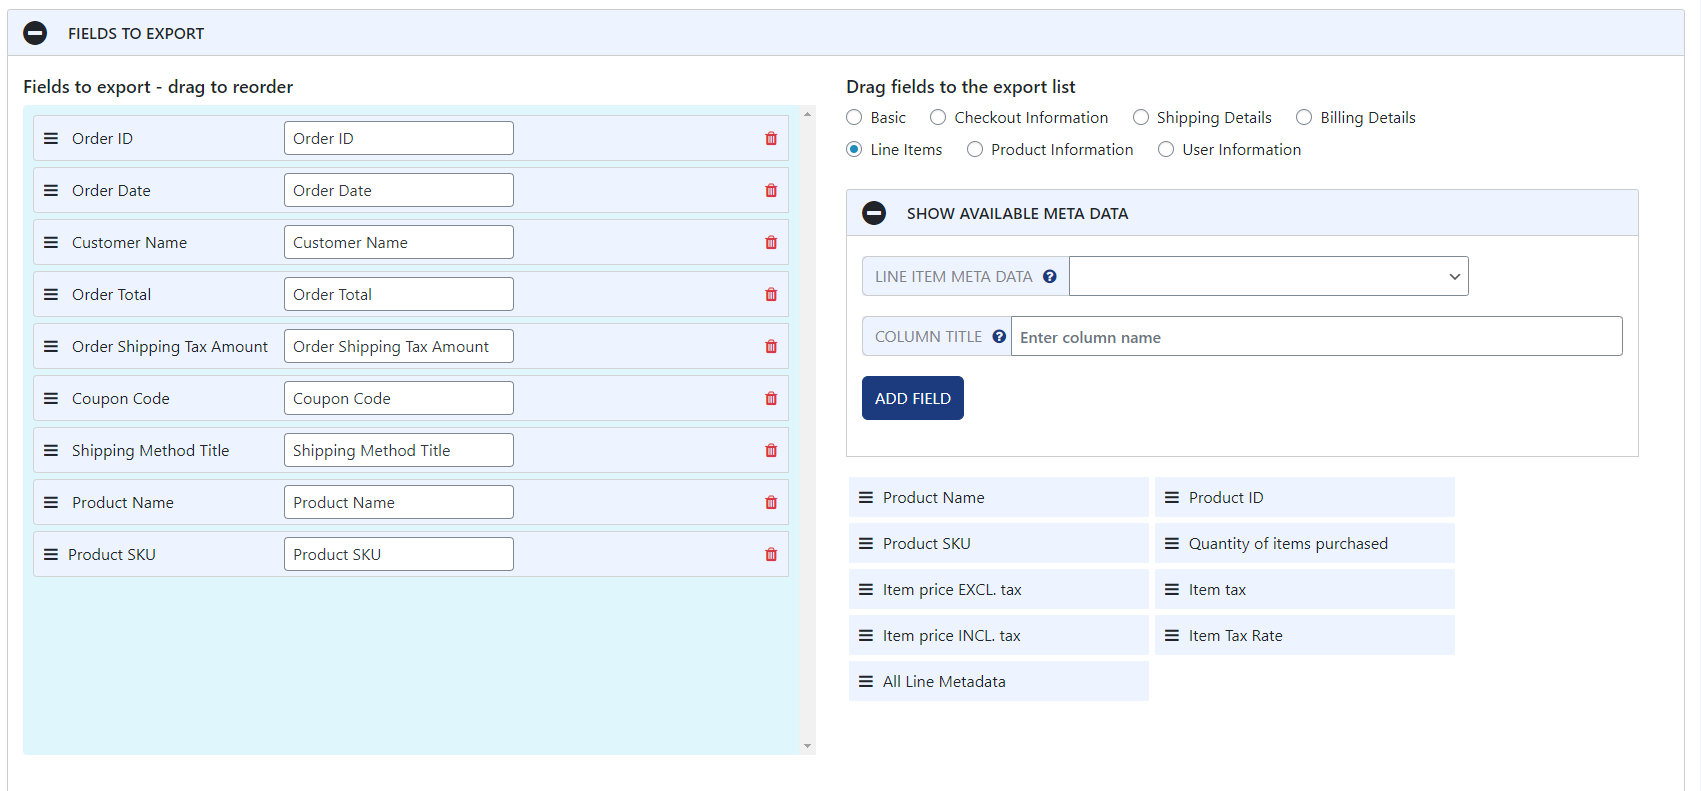
Let’s represent the last feature for the menu bar. It works by you dragging and dropping the necessary information. In this feature, all of the order information is available and categorized by groups.
In the top right corner, you can find groups like product information, user information, billing details, and more. By dragging and dropping them in the left blue box, you are putting together your custom report with the information that you think is necessary. That makes the whole process of putting together your report simple, to the numerous meta information you can choose between.
The following will be more about three buttons on the bottom of the page: Export, Preview, and Save Settings.
Preview button
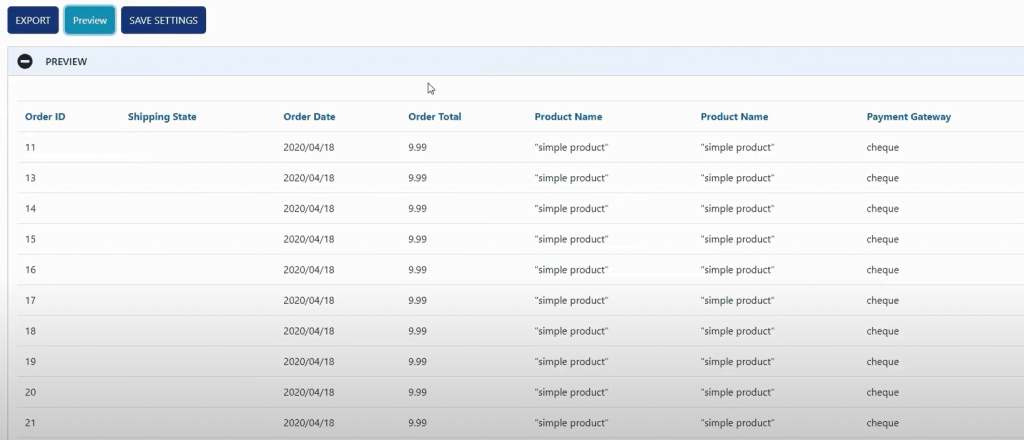
Since the other two are self-explanatory, we would like to say what the preview buttons do and why it is mentioned- worthy. The preview allows you to see your report before you export it. That ensures that you have all of the information that you have chosen to be on the report. This whole process saves you time by allowing you to check the information before the report is made, then having to edit it and then waiting for its export once more.
Settings
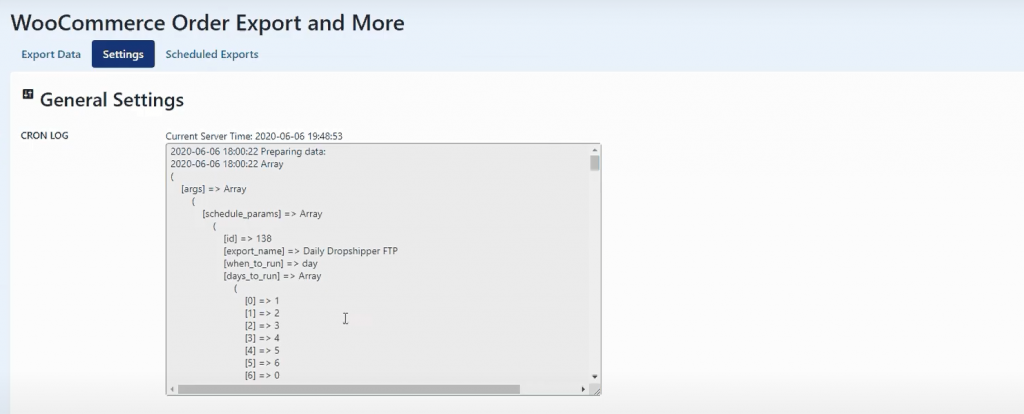
Right next to your Export Data menu can be seen on a Settings page. It does not do much and is not that interesting, but the most accessible said: it contains all of your logs. It is mainly used when you are having any kind of trouble exporting your orders, so if you want to look at what is causing the problem. At the bottom of the Settings page, you can find Export Settings. This allows you to copy the export setting so they can be used on your future reports.
Scheduled export

Scheduled export is one more popular feature when it comes to this plugin. The number of reports does not limit you, and you can set multiple ones at once. You are entirely flexible with everything. For example, you can schedule when you want specific reports to be delivered to you. Or, you can choose to get reports on the first one in the month, or if you prefer, the last work-day of each month. It is perfect, so you do not have to keep in mind to export some reports, and you let the plugin do the work for you.
You also have information about when the report was the last run, its next run, and its frequency. When you hover your mouse over the reports, you can edit them in any way, remove them from your schedule and even clone them. Setting up a schedule for your report to be exported is straightforward. First, you choose the export name and the schedule you want it to be exported on. You can select specific days and times during that day or choose a schedule to be exported on.
That can be the first of the month, daily, every hour, or the last day of the month. After that, you can choose where you want your and how you want your report to be exported. The delivery methods are email, FTP/SFP, or Directory.
Conclusion
We hope that we have explained everything you need to know about this plugin and how it works. It allows you to export WooCommerce orders with only a few clicks without you having to think of them anymore. This WordPress plugin has even more capabilities, which you may learn about on their official website.
Their demo video can also be found, explaining to you the whole plugin and how the whole exporting process works. Tons of reviews on the plugin can be found online, telling you the great things on the plugins, but you might also find some things that might be a no for some of its users.
If you decide to give it a try, they do offer a 100% money-back guarantee if you do not like the plugin for whichever reason. The pricing consists of three price plans, and the prices are completely reasonable, considering the features it offers. We do think this plugin deserves your attention.

