Getting professional sound from your SteelSeries Alias microphone is not just about owning high‑quality hardware—it’s about configuring it correctly. Many users plug in the mic, adjust the input level slightly, and assume that is all there is to it. In reality, a few carefully tuned settings can dramatically improve clarity, reduce noise, and create a richer, more polished voice presence for streaming, podcasting, or video conferencing.
TLDR: The SteelSeries Alias mic can sound significantly better with the right configuration. Focus on six key settings: gain structure, mic placement, noise reduction, EQ tuning, polar pattern optimization, and software enhancements. Small, precise adjustments deliver a cleaner signal, better vocal depth, and reduced background noise. Treat your setup like a studio environment, not just plug‑and‑play equipment.
Below are six settings that make a meaningful difference, explained in a practical and structured way.
1. Set Proper Gain Levels (The Foundation of Great Audio)
Table of Contents
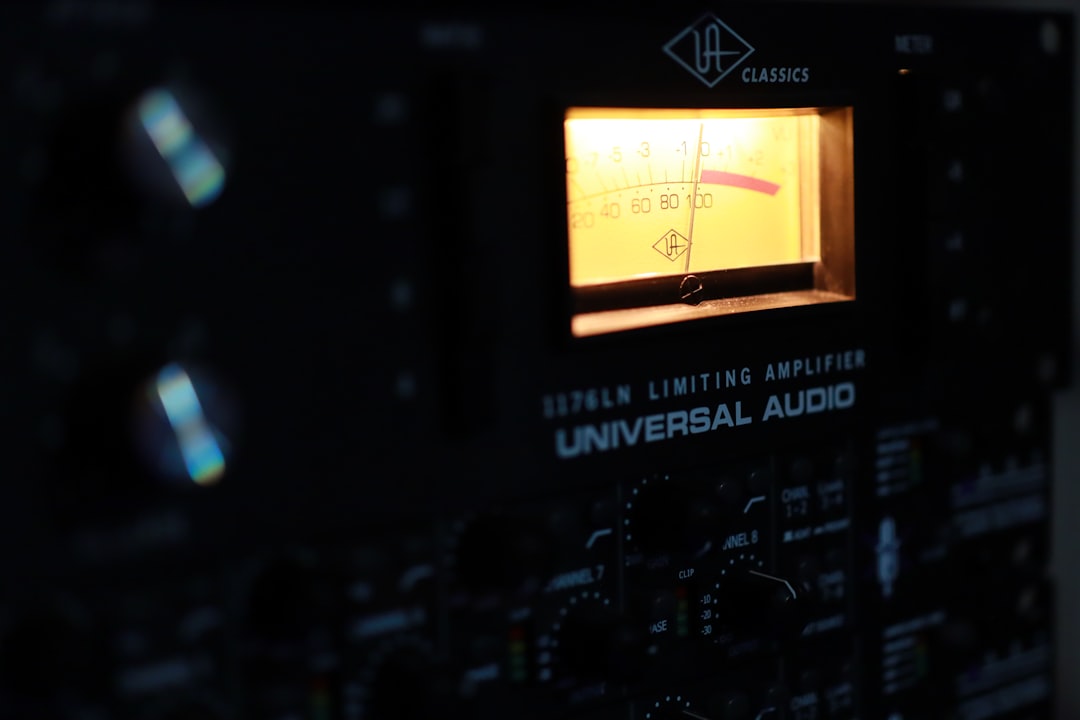
The single most important adjustment you can make is setting the correct microphone gain. Gain determines how sensitive the mic is to incoming sound. Too high, and your voice will clip or distort. Too low, and your audio will sound weak and noisy after amplification.
How to set it correctly:
- Position yourself at your normal speaking distance (6–8 inches is ideal).
- Speak at your typical streaming or recording volume.
- Adjust the gain until your peaks reach around -10 dB to -6 dB.
- Ensure it never hits 0 dB (this causes digital clipping).
Many users mistakenly run gain too high and compensate by speaking softly. That approach increases background noise and makes compression less effective. A properly set gain ensures the rest of your audio chain works cleanly.
Professional tip: It’s better to run slightly lower gain and increase volume in post-processing than to fix clipped audio later—clipping cannot truly be repaired.
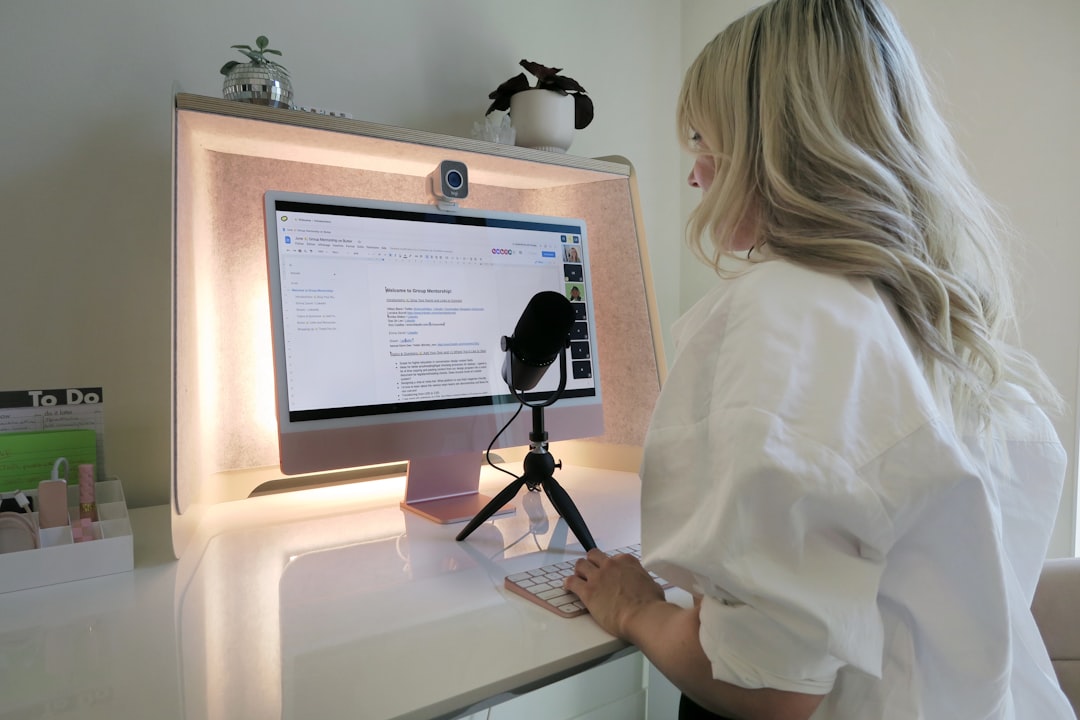
2. Optimize Mic Placement and Distance
Even the best settings cannot compensate for poor mic positioning. The SteelSeries Alias is designed for close‑range vocal capture, and placement dramatically impacts tone, warmth, and noise pickup.
Best practices:
- Keep the mic 6–8 inches from your mouth.
- Speak slightly off-axis (about 15 degrees) to reduce plosives.
- Avoid placing the mic directly in line with airflow.
- Use a boom arm instead of placing it directly on your desk.
Why does this matter? When you’re too far away, the mic must work harder (increasing gain and noise). When you’re too close, you trigger excessive proximity effect—boosting bass frequencies unnaturally.
A boom arm reduces mechanical vibration from keyboards or desk movement, which is crucial during gaming or energetic conversations.
3. Adjust Noise Reduction and Gate Settings
If you are using the SteelSeries Sonar software, you have access to noise reduction and gate controls. These tools help eliminate background sounds like keyboard typing, fans, and room echo.
Noise Gate:
- Prevents the mic from transmitting audio below a set threshold.
- Ideal for eliminating low-level hum or distant traffic noise.
- Set it just below your speaking volume—not too aggressively.
Noise Reduction:
- Filters continuous background noise.
- Should be applied moderately to avoid robotic artifacts.
Important: Overusing noise reduction can degrade vocal clarity and introduce digital smearing. The goal is subtle control—not aggressive suppression.
A well-calibrated gate ensures your mic activates naturally when you speak and stays silent when you don’t, without cutting off syllables.
4. Fine-Tune Equalization (EQ) for Vocal Clarity
Equalization shapes the tonal balance of your voice. The SteelSeries Alias has a naturally clear profile, but minor EQ tweaks can enhance presence and reduce muddiness.
Recommended starting adjustments:
- Low Cut (High-Pass Filter): 80–100 Hz to remove rumble.
- Low-Mids (200–400 Hz): Slight reduction if voice sounds muddy.
- Presence Boost (3–5 kHz): Small boost for clarity and definition.
- Air (10–12 kHz): Gentle lift for brightness.
Be cautious with boosting. Each +3 dB increase is noticeable. Subtle changes create the most natural results.
For deeper voices, avoid cutting too much low‑mid frequency—you want warmth without muddiness. For higher voices, focus more on smoothing harsh upper mids.
Consistency is key: Once you find a good EQ curve, save it as a preset to maintain uniform sound across recordings.
5. Configure Polar Pattern and Environment Awareness
If your SteelSeries Alias model offers configurable pickup characteristics, ensure you are using the correct pattern. Most streamers and podcasters benefit from a cardioid pattern, which captures sound primarily from the front.
Why cardioid works best:
- Reduces room reflections from behind.
- Minimizes keyboard noise if positioned properly.
- Improves vocal isolation.
Your physical recording environment matters as much as digital settings. Hard surfaces reflect sound waves, creating echo and reverb.
Quick acoustic improvements:
- Add curtains or soft furnishings.
- Use foam panels strategically.
- Place a rug under your desk.
- Avoid recording in large empty rooms.
Even small adjustments can make your recording sound more intimate and controlled.
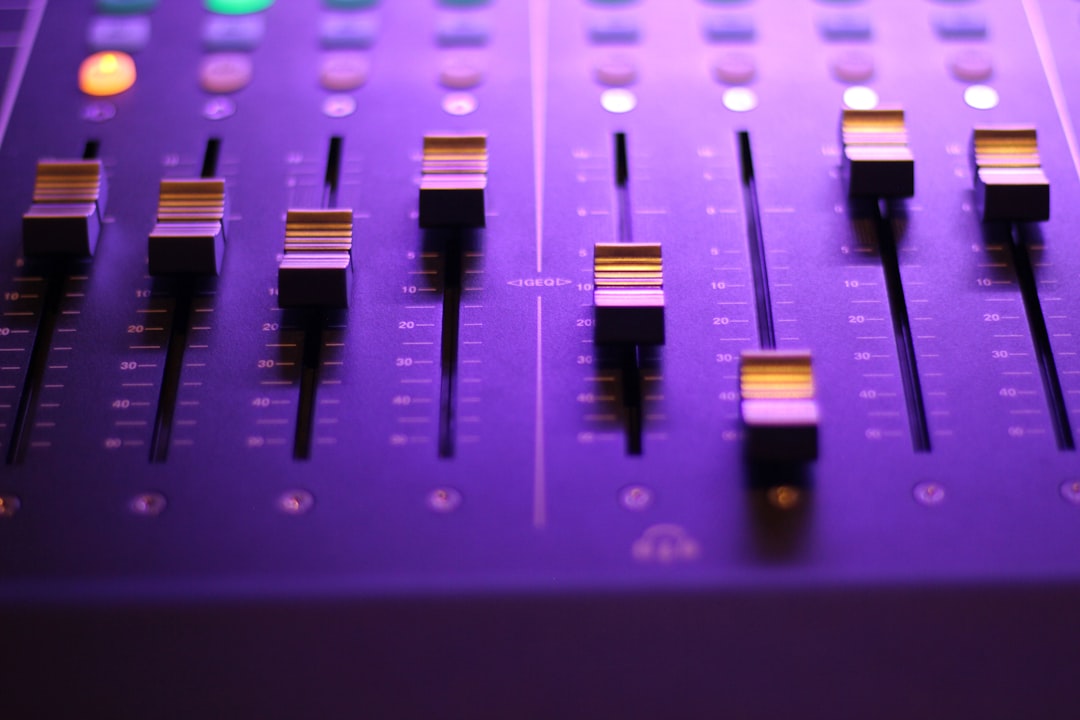
6. Enable Compression for Balanced Dynamics
Compression is often overlooked, but it dramatically improves vocal consistency. A compressor reduces the difference between loud and soft sections of your voice.
Benefits:
- Smoother delivery in live streams.
- No sudden volume spikes.
- More professional broadcast sound.
Basic compressor settings to try:
- Ratio: 3:1 or 4:1
- Threshold: Adjust so normal speech triggers light compression
- Attack: 5–10 ms
- Release: 50–100 ms
Too much compression makes the voice sound flat or unnatural. The goal is control—not elimination of dynamics.
Many streaming platforms normalize audio, so pre‑compressing ensures your voice remains forward and intelligible without relying solely on platform algorithms.
Bringing It All Together
Improving SteelSeries Alias mic quality is not about dramatically altering every setting. It is about intentional moderation and understanding how each adjustment interacts with the others.
A typical optimized signal chain might look like this:
- Correct physical placement
- Balanced gain
- Light noise gate
- Subtle EQ shaping
- Moderate compression
Each step compounds the improvement from the previous one. Skipping gain calibration and jumping straight to EQ, for example, leads to inconsistent results.
Professional audio engineers follow the same structured approach: control the source first, then refine the signal.
Common Mistakes to Avoid
- Maximizing gain to sound “louder”
- Overusing noise suppression
- Applying extreme EQ boosts
- Ignoring room acoustics
- Placing the microphone too far away
Most audio issues stem from one of these errors. Returning to fundamentals usually fixes the problem quickly.
Final Thoughts
The SteelSeries Alias microphone is capable of broadcast‑level quality when used correctly. While the hardware itself is strong, your results depend heavily on setup discipline.
By focusing on six core areas—gain structure, mic placement, noise management, EQ tuning, pickup optimization, and compression—you transform your microphone from a basic input device into a refined production tool.
Audio quality influences how seriously audiences perceive you. Clear, balanced sound builds authority and retains attention. Investing time in these adjustments is not cosmetic—it is strategic.
Take the time to fine‑tune your settings, save presets once you have dialed in your sound, and periodically reassess your environment. Small corrections today prevent major audio issues tomorrow.