Starlink has revolutionized internet access, providing high-speed, low-latency connections to even the most remote locations on Earth. As more users adopt this satellite-based internet service, many seek greater control over their home networks. One common request is the ability to use a personal Wi-Fi router instead of relying solely on the default router bundled with Starlink. Fortunately, this is entirely possible with a few practical steps. Whether users are tech-savvy or new to networking, this guide will walk them through using their own Wi-Fi router with Starlink.
TL;DR
Table of Contents
Users can bypass Starlink’s default router to connect their own router for better control and performance. To do so, a Starlink Ethernet Adapter is required to connect via a LAN cable. Switching to Bridge Mode disables the built-in Wi-Fi and allows a third-party router to manage the network. This setup is ideal for users needing advanced features like custom SSIDs, parental controls, and improved coverage.
Why Use Your Own Wi-Fi Router?
While Starlink’s built-in router is sufficient for standard internet use, it lacks customization and advanced features that power users may need. Using a third-party router allows users to:
- Manage network settings such as static IPs, VPNs, or custom DNS
- Enjoy better Wi-Fi range and performance with high-end routers
- Implement parental controls and QoS (Quality of Service) features
- Establish a unified mesh network across large spaces
If these features are important, replacing or supplementing Starlink’s router makes perfect sense.
What You’ll Need
To get started, users should prepare the following items:
- Starlink Kit (Dish, Power Supply, and Starlink Router)
- Starlink Ethernet Adapter (purchased separately)
- Your own Wi-Fi router – any brand or model will do, though modern dual-band or mesh routers are preferred for speed and range
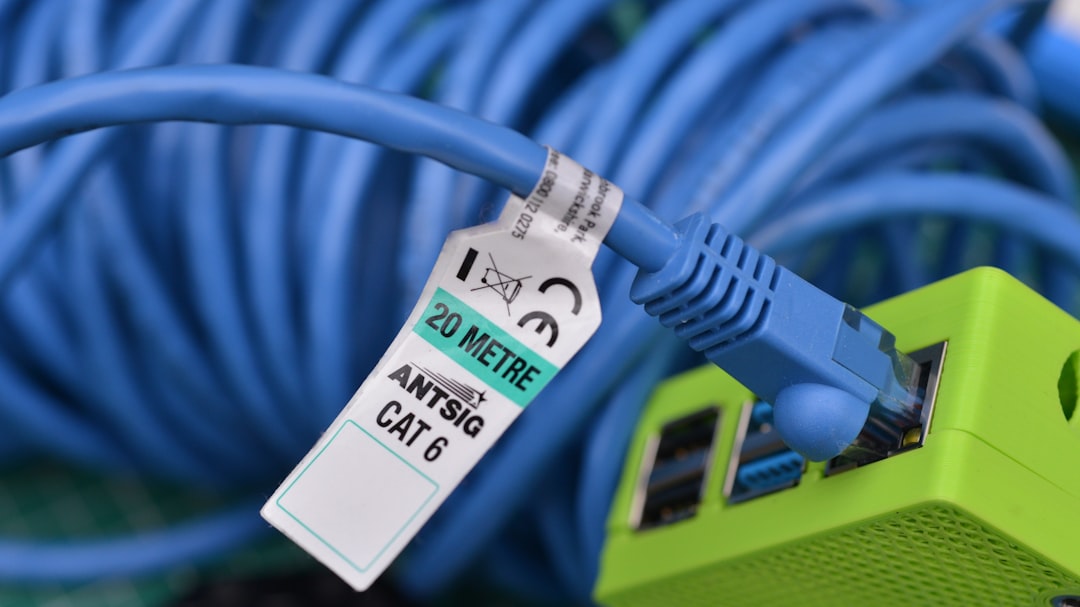
- Ethernet cable to connect Starlink’s network to your router
The key component is the Ethernet Adapter, which bridges the Starlink router to external networking hardware.
Step-by-Step: Connect a Custom Wi-Fi Router to Starlink
Here’s how to set everything up:
1. Get the Starlink Ethernet Adapter
This small accessory connects in-line between the Starlink router and the dish via the proprietary power-over-Ethernet cable. It splits off an RJ45 Ethernet port for your use. You can order it from the official Starlink shop.
2. Unplug and Connect
Before proceeding, power off your router and Starlink setup. Now follow these steps:
- Disconnect the cable going from the Starlink Dish to the Router.
- Insert the Ethernet Adapter inline between the dish cable and the router – it acts as a pass-through.
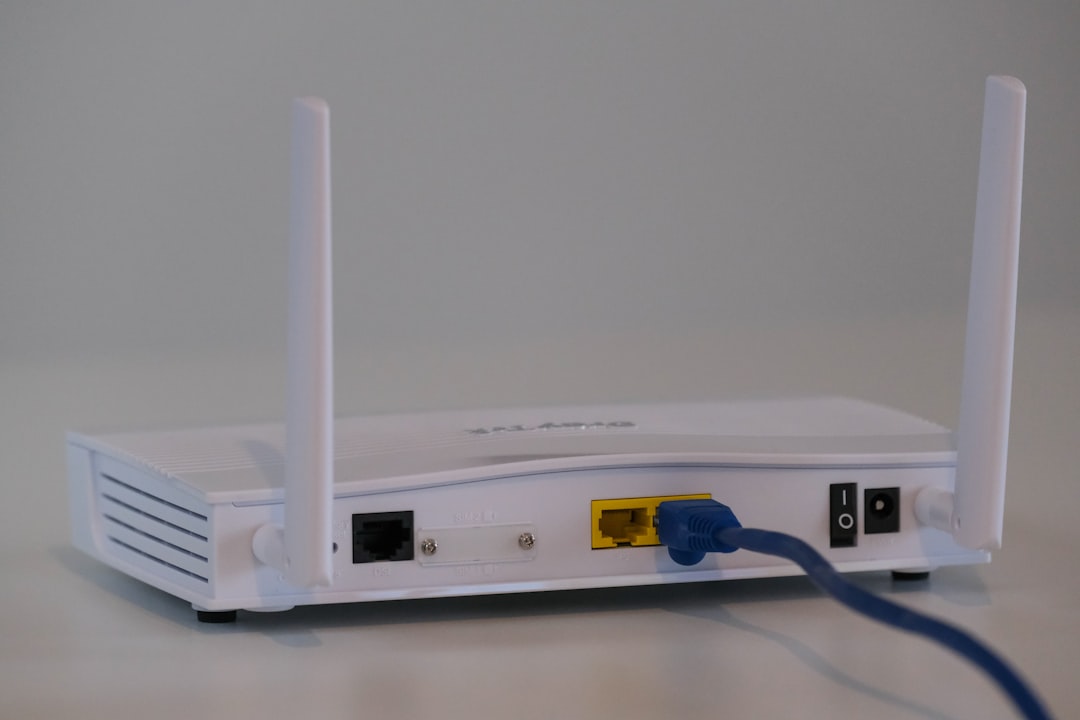
- Plug the Ethernet cable into the Ethernet port on the adapter, and run the other end to your third-party router’s WAN port.
3. Enable Bypass/Bridge Mode
In the Starlink app:
- Go to Settings in the app
- Scroll down to Advanced settings
- Select Bypass Router or Bridge Mode
- Activate it and confirm – this disables Starlink’s Wi-Fi broadcast
Once done, Starlink’s router no longer functions as a Wi-Fi device – your third-party router takes over as the sole gateway and wireless manager.
4. Configure Your Router
Power on your router and log into its settings through a web browser. Make sure:
- WAN/Internet connection type is set to DHCP or Automatic IP
- Ensure security settings (WPA3/WPA2) are enabled
- Customize your SSID and Wi-Fi password if needed
Within a few minutes, your new router should begin distributing internet to all your devices.
Performance and Troubleshooting
Users typically see no drop in performance when switching to their own router. In fact, it often improves:
- Stronger signal strength in multi-story buildings
- Custom bandwidth allocation for gaming, streaming, or work-from-home setups
- Seamless integration with smart home devices
If users notice no internet on their router:
- Double-check that Bridge Mode is enabled in the Starlink app
- Make sure router firmware is up to date
- Restart both the router and Starlink system
Do You Still Use the Starlink App?
Yes – the Starlink app continues to provide system diagnostics and firmware updates for the dish itself. Even though Wi-Fi is managed by your own router, users should keep the app for:
- Checking outages or obstructions
- Monitoring data usage
- Managing dish-related settings
Compatible Router Suggestions
If you’re looking for router recommendations for use with Starlink, here are some quality choices:
- TP-Link Archer AX73 – Great range and fast Wi-Fi 6 speeds
- ASUS RT-AX88U – Feature-rich interface with powerful performance
- Google Nest WiFi Pro – Excellent for mesh setups with easy app controls
- Ubiquiti UDM-SE – Best for advanced users seeking enterprise-level features
Select a router based on your home size, number of devices, and feature needs. Mesh routers are perfect for larger homes or older buildings with thick walls.
Summary
Using your own Wi-Fi router with Starlink not only enhances performance but also unlocks extensive customization options lacking in the stock router. With the addition of an Ethernet Adapter and enabling Bypass Mode, the transition is both simple and effective. Most modern routers are compatible, and the benefits – from expanded coverage to parental controls – make it a worthwhile upgrade.
Frequently Asked Questions (FAQ)
- Do I need to keep the original Starlink router?
- No, once you have the Ethernet Adapter and set it to Bypass Mode, you can use your own router exclusively, though the Starlink router powers the dish.
- Will using my own router void my warranty?
- No – Starlink allows for custom router setups via the official Ethernet Adapter and Bridge Mode features.
- Can I use a mesh Wi-Fi system with Starlink?
- Yes, mesh systems work excellently with Starlink and provide expanded coverage, especially suitable for large homes.
- Can I go back to the default Starlink Wi-Fi if needed?
- Yes – simply disable Bridge Mode in the Starlink app, and the original Wi-Fi broadcast will resume.
- Does Starlink support static IP addresses via a third-party router?
- Starlink provides dynamic IP addresses by default, but you can configure static IPs within your local network using your router’s settings.