Setting up your own movie streaming platform used to sound like a task reserved for tech wizards, but thanks to Plex, anyone can do it with just a few simple steps. Whether you have a vast digital movie collection or you’re just starting to rip your DVDs, Plex can organize, stream, and bring your media library to life across all your devices. If you’ve ever dreamed of running your own private Netflix at home, you’re in the right place.
TL;DR:
Table of Contents
Plex is a powerful tool that lets you stream your movie collection on any device. All you need is a computer, the Plex Media Server software, and a well-organized movie library. By properly naming files and pointing Plex to the right folder, it will fetch all the metadata and artwork automatically. With under an hour of setup, you’ll be enjoying your personalized streaming service in no time.
Step 1: Understand What Plex Does
Plex is a client-server media platform. At its core, it consists of two parts:
- Plex Media Server: This runs on your computer or network-attached storage (NAS). It organizes your media and streams it to your devices.
- Plex Client Apps: These are apps you install on your smart TV, phone, tablet, or PC to watch your content.
Once installed, Plex scans your media files, adds posters and trailers, categorizes everything neatly, and gives you a beautiful interface to browse your movies.
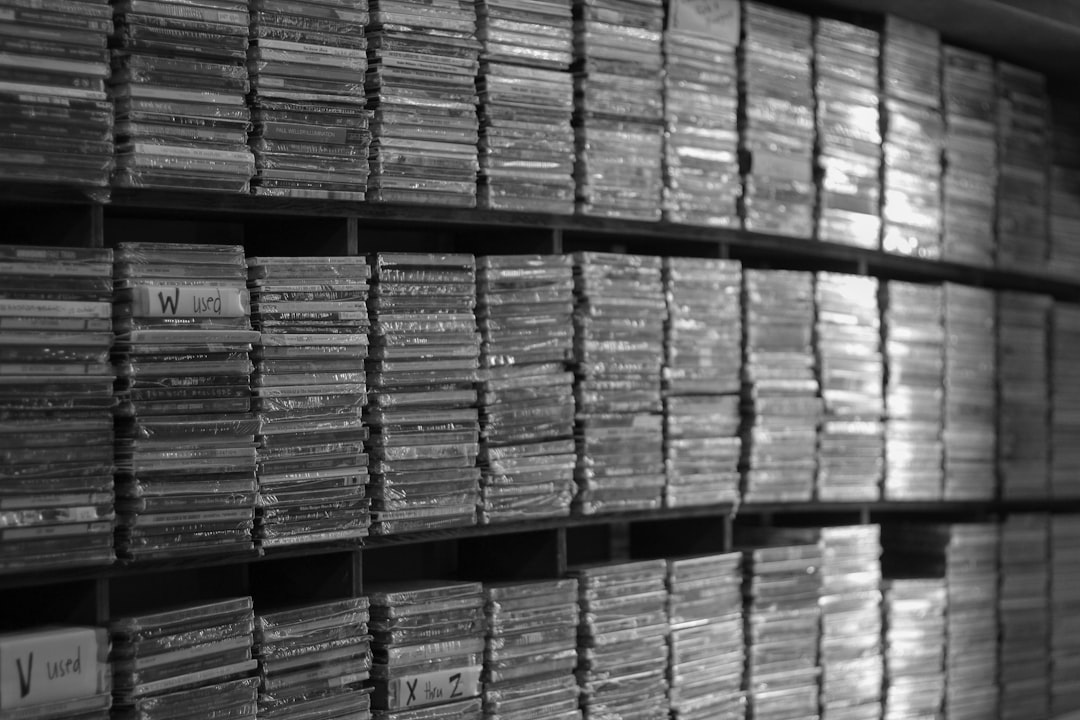
Step 2: Collect and Organize Your Movie Files
Plex works best when your files are organized and correctly named. This lets it match the files accurately with online databases like The Movie Database (TMDb). Here’s how to prep your collection:
- Create a master folder: This can be called something like “Movies.”
- Create a subfolder for each movie: Use the format Movie Title (Year), e.g., Inception (2010).
- Inside each movie’s folder: Place the movie file using the same naming format, e.g., Inception (2010).mp4 or .mkv.
This structure will help Plex pull in accurate metadata, including posters, descriptions, trailers, and actors. Bonus: it also makes your physical file system as beautiful as the Plex interface.
Step 3: Install Plex Media Server
To get started, download and install the Plex Media Server on the device where your movies are stored. This could be your Windows or Mac desktop, a Linux machine, or even a NAS device from Synology or QNAP.
Once installed, follow the setup wizard:
- Create a Plex Account: Sign up or log in to your existing account.
- Name Your Server: Give it something memorable like “Home Theater” or “My Plex Library.”
- Add Libraries: Click on “Add Library,” choose “Movies,” set the language, and then browse to the master folder where your movies live.
Plex will automatically start scanning and indexing your collection. Depending on the number of files and your system speed, this may take a few minutes to an hour.
Step 4: Customize Your Plex Library
After the scan, head to your Plex web dashboard. You’ll see your movie library populating with posters, summaries, cast details, and more. You can now:
- Organize your library by genre, release date, or recently added.
- Edit metadata manually: Useful if Plex matched your file to the wrong movie.
- Add collections: Group movies into custom bundles like “Marvel Universe” or “Holiday Favorites.”
This step isn’t mandatory, but taking some time to tailor your library will give you that premium personalized feeling every time you log in.
Step 5: Install Plex Client Apps
Now it’s time to watch! Plex offers apps for a wide range of devices:
- Smart TVs (Samsung, LG, Sony, etc.)
- Streaming devices (Roku, Apple TV, Amazon Fire Stick)
- Mobile devices (iOS, Android)
- Game consoles (PlayStation, Xbox)
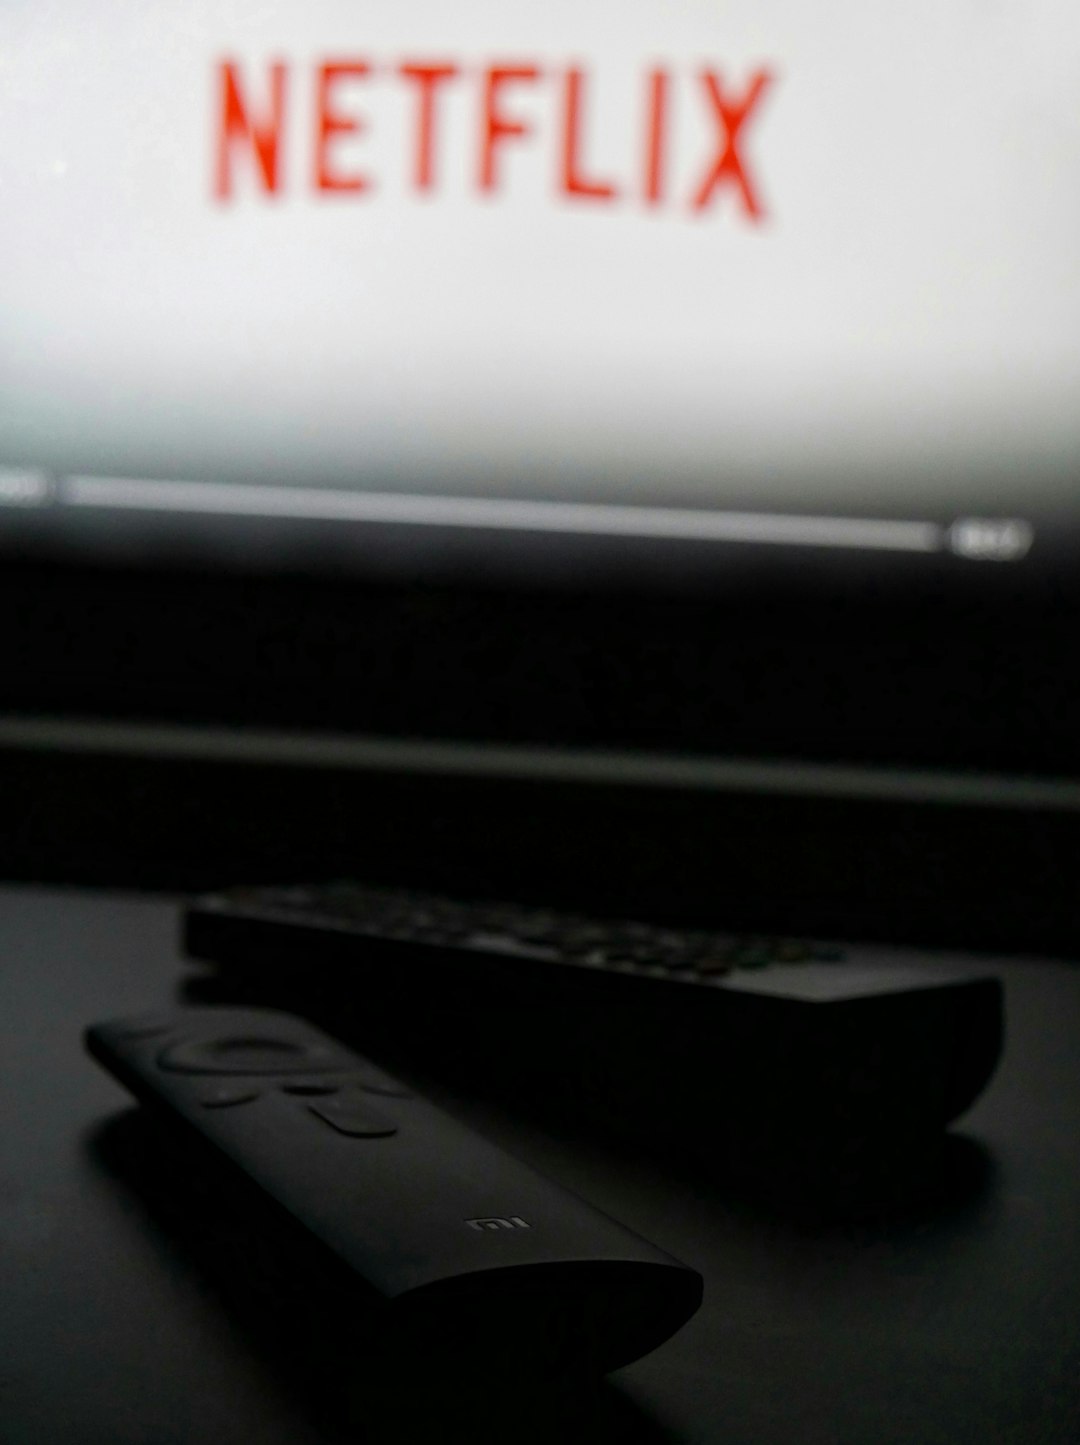
Download the Plex app on your chosen device, sign in, and voilà — your library is at your fingertips! You’re now streaming your personal movie collection like a pro.
Step 6: Advanced Settings & Remote Access
If you want to access your movies from outside your home network, Plex offers a Remote Access feature. It’s usually enabled automatically, but if you run into trouble:
- Open Plex settings on your server.
- Go to “Remote Access.”
- Click on “Enable Remote Access.”
This will let you stream movies to your phone while traveling or to a laptop at a friend’s house. Plex even optimizes video quality based on your connection.
Additionally, Plex Pass (Plex’s premium tier) gives access to features like hardware-accelerated transcoding, trailers, extras, and more refined parental controls. If you’re serious about your library, it might be worth considering.
Troubleshooting Common Issues
Got something off with your setup? Here are some quick fixes:
- Movie not showing up? Double-check the file naming and folder structure matches Plex’s preferred format.
- Metadata looks wrong? You can manually fix this by clicking the movie in your Plex dashboard and selecting “Fix Match.”
- Subtitles missing? Plex can pull subtitles automatically, or you can add .srt files manually in the same folder as your movie.
Tips for a Top-Tier Plex Experience
- Use a wired connection for your server device for the most stable streaming performance.
- Set up automatic library updates to scan for new content regularly.
- Create user profiles — especially if others in your household will be using Plex.
- Backup your metadata in case you move to a different server later.
Final Thoughts
With just a bit of organization and a simple installation process, Plex transforms your scattered movie files into a beautiful, on-demand streaming service. It’s perfect for hobbyists, film buffs, and families who want digital access without relying on third-party platforms. And best of all, it’s free (with optional upgrades). Once you’ve taken the time to set it up, you’ll wonder how you ever lived without it.
Whether it’s movie night, showing off your 4K Blu-ray rips, or streaming while traveling — Plex makes your movie collection more accessible and enjoyable than ever before.